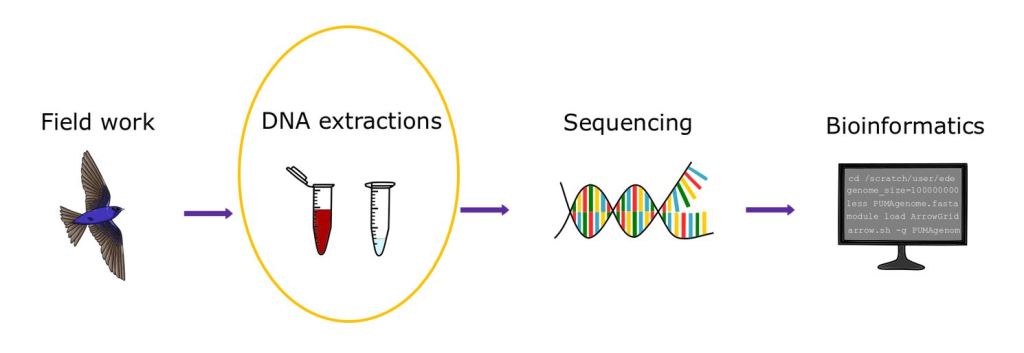
It is incredible how much we can learn from a small tissue or blood sample from a singe organism. Nearly all cells contain the entire genetic code of an organism, holding instructions for development and function. By extracting this code, people can unlock all sorts of information and answer questions about specific traits, genetic variation, diseases, heredity, etc…! The methods to study genetics in one organism can be applied to study genetics in many more, making it an incredibly powerful and valuable tool.
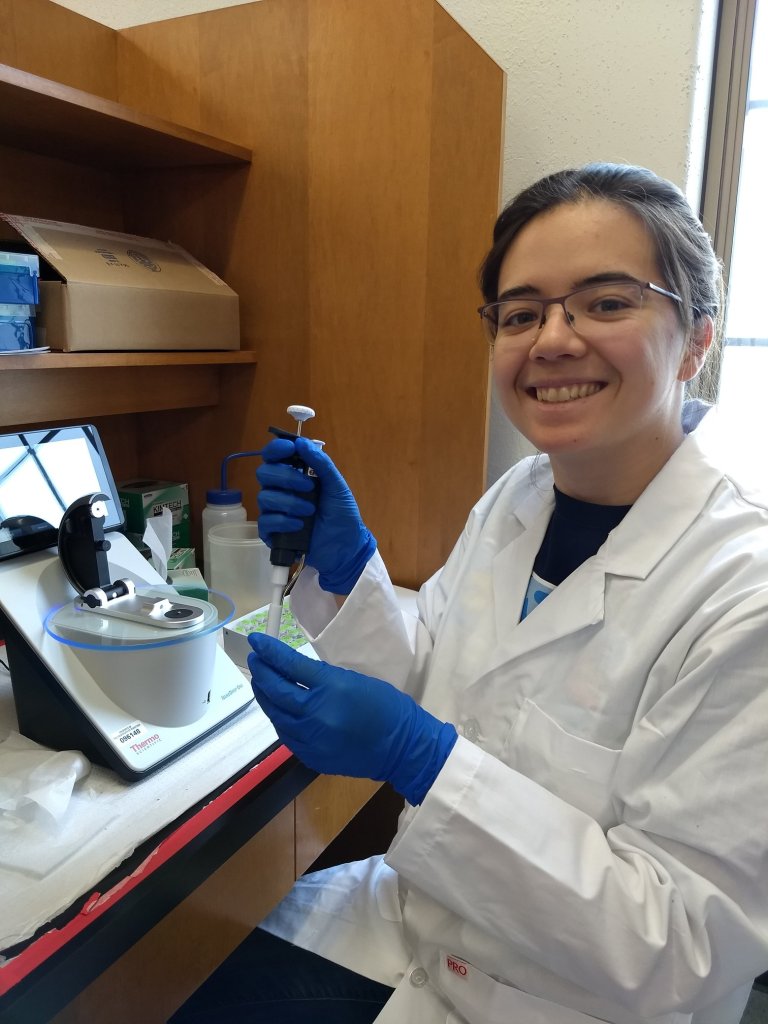
About a year ago I started DNA extractions for my MSc project studying Purple Martins. I’m currently in the bioinformatics stage in my work, but for this blog post I will focus on my experience doing laboratory work. I mostly followed the instructions provided by the extraction kit, making some modifications here and there to obtain better results.
DNA extractions
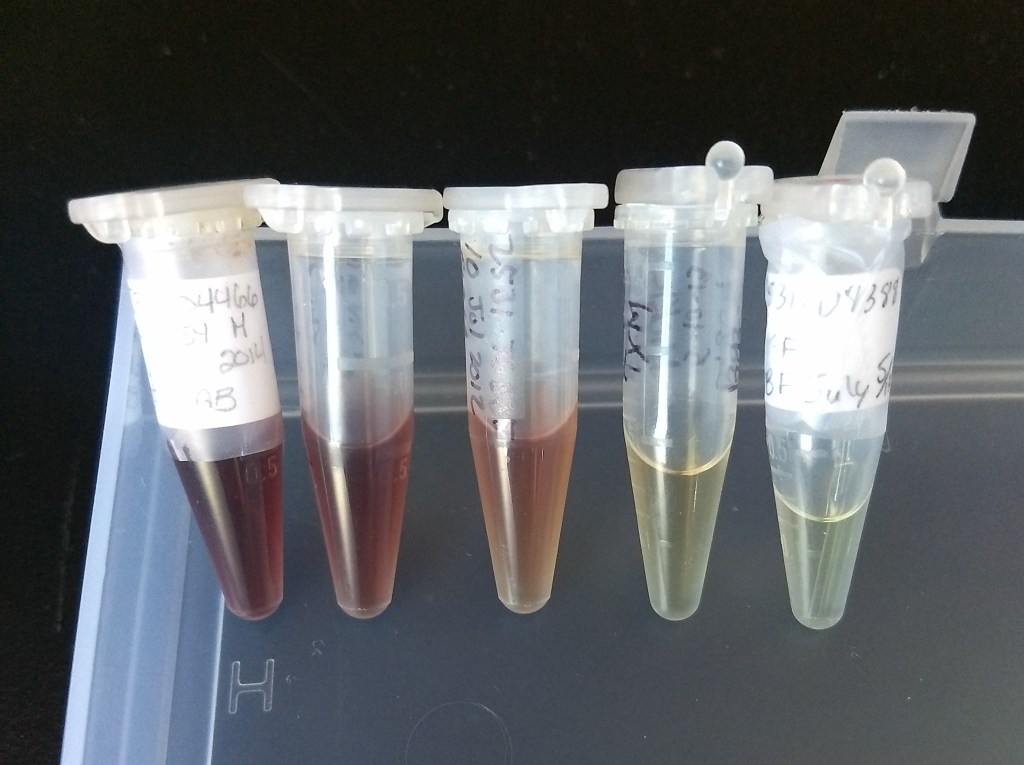
All the blood samples in my study were stored in Queen’s Lysis buffer for preservation over many years (some >10 years!), ranging in quality. The majority were in good shape, but I ran into difficulties with samples that were too translucent (not enough blood) or coagulated (thick and clumpy). Throughout troubleshooting and completing extractions, I used the Qiagen DNeasy Blood & Tissue kit (a high quality standard extraction kit), which provides materials such as enzymes, buffers, and spin columns.
Step 1) To get the DNA out of the cells, the cell membranes need to be broken down (cell lysis). In this step, a key ingredient is proteinase K, an enzyme that will deconstruct the cells and free the DNA. After adding this enzyme to the blood, along with some buffers (AL, PBS), I incubated the samples at 56°C to increase the activity of proteinase K. The Qiagen instructions suggested to cook the samples for 10 minutes, but I ended up going as far as 8 hours to break the cells down as much as possible to obtain more DNA (I was desperate to get higher DNA concentrations!). During incubation, I also vortexed the samples every now and then (ideally every 30-60min) to keep it as mixed as possible.
A tip for using pipette tips with viscous blood: It was difficult to pipette many of the viscous blood samples in this step, so I trimmed some of the pipette tips to help take out the amount I needed. It helps to prepare this ahead of time so all the necessary pipette tips are ready to go!
Step 2) Next, the DNA floating around in the samples need to bind to the gel membrane inside the spin columns (specialized tubes provided by the extraction kit). Since DNA is insoluble in alcohol, the addition of ethanol to the samples helps the DNA bind to the gel. With the DNA and ethanol mixed together, I centrifuged the samples in the spin columns for this binding process, while other mucky parts of the samples went through the gels and into the waste tubes.
Step 3) After binding the DNA in the spin column, the leftover sample gunk and residues need to be washed out. Continuing with the same spin columns containing the DNA, I added washing buffers (AW1, AW2) , centrifuged, and removed waste, and repeated a couple times. Though not listed in the Qiagen instructions, I also did a dry spin at the end (centrifuging without adding buffer) to remove any remaining liquids and further clean the DNA.
Step 4) Finally, the last step in the DNA extraction procedure is eluting the DNA with distilled water (or AE buffer which is provided by the Qiagen kit). This creates the final “sample,” with the just the DNA suspended in clean water or buffer. In this step, I used warm water to help increase the DNA yield (I heated up some distilled water ahead of time by added a tube to incubator with the rest of the samples in step 1). Sometimes eluting the samples a second time can provide higher DNA concentrations as well.
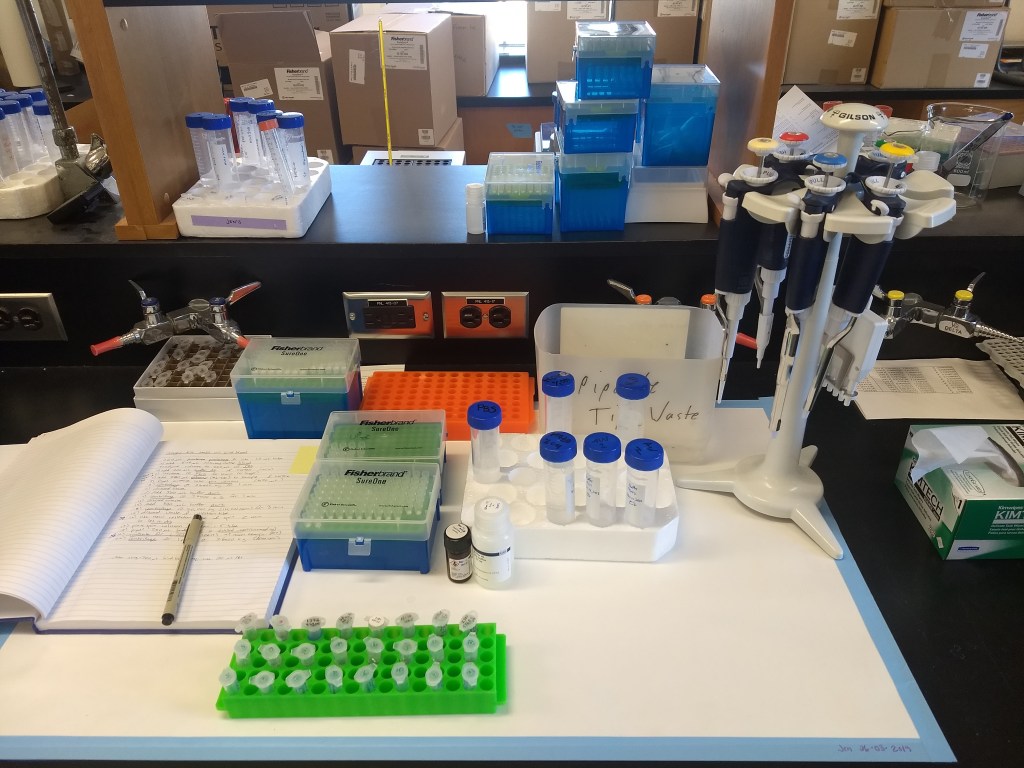
Some lab extraction materials 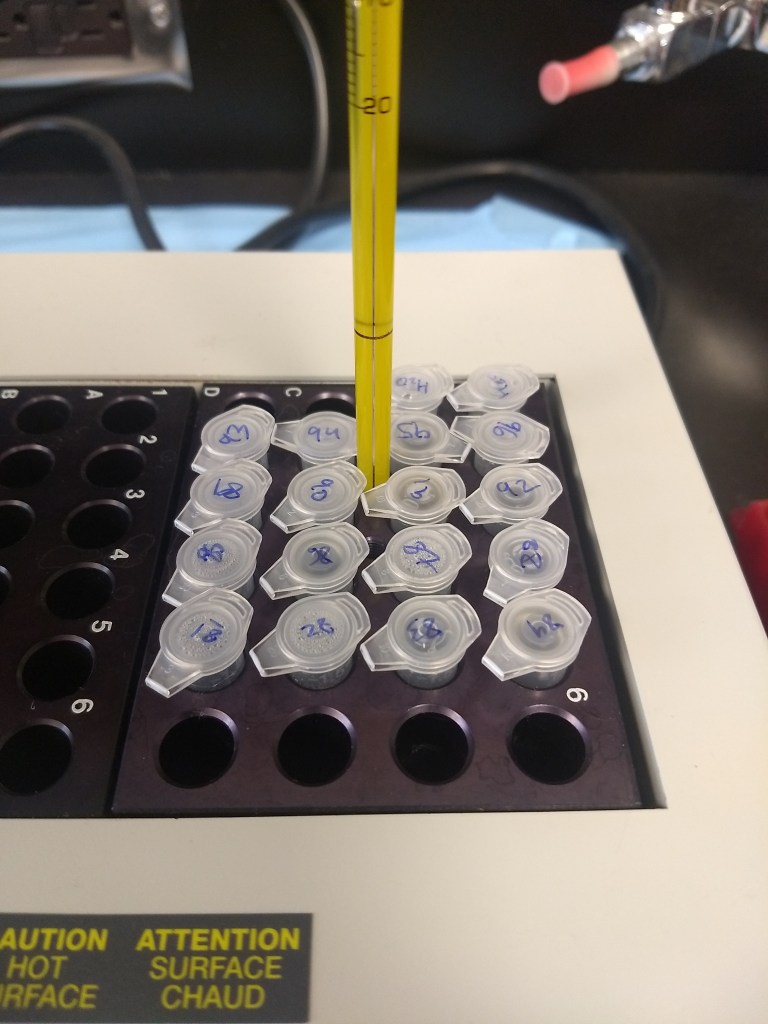
Incubating samples at the lysis step 
Elution step in centrifuge
Quality check
Before using extracted DNA in sequencing steps, it is important to check the concentrations and qualities of each sample (the amount needed will depend on the sequencing methods and project). A nanodrop spectrophotometer can determine DNA concentrations by the nanogram/microliter (ng/uL) from one drop (~1uL) of the DNA sample! The nanodrop also provides important information on purity (260/280 and 260/230 ratios, indicating absorbance at certain wavelengths). This can tell you if the sample is pure or contaminated.
Even if the sample looks clean and has great DNA concentrations, another important quality-check step is gel electrophoresis. This procedure gives us a closer look at DNA fragments to ensure they are intact. Using agarose powder and TAE buffer, we can make gel molds (science jello!), containing wells to insert samples of DNA (another drop per sample) mixed with loading dye. A DNA ladder should be included, which serves as a ruler for identifying the size of the fragments. When turned on, the machine runs an electrical field, pushing DNA fragments across the gel. Afterwards, the gel is viewed through UV light for better visual examination. For the purposes of my quality checks, I used these gels to make sure the DNA fragments were in solid bands (as opposed to smeared, which would indicate that the DNA is degraded).

Making gel mold 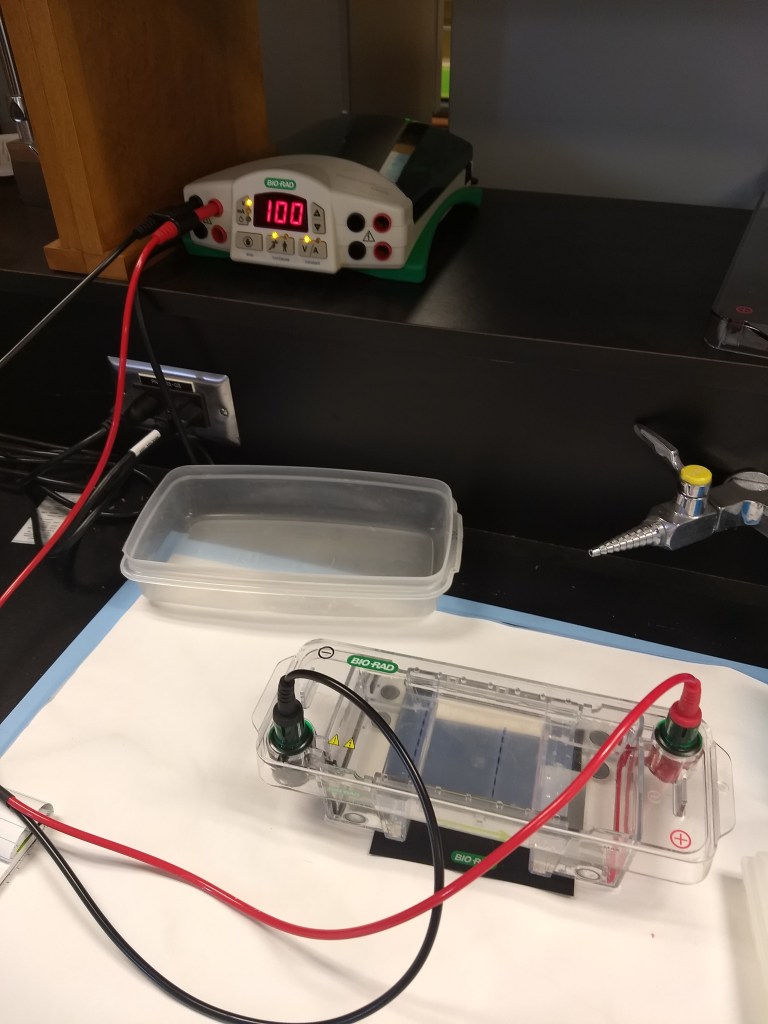
Electrophoresis equipment 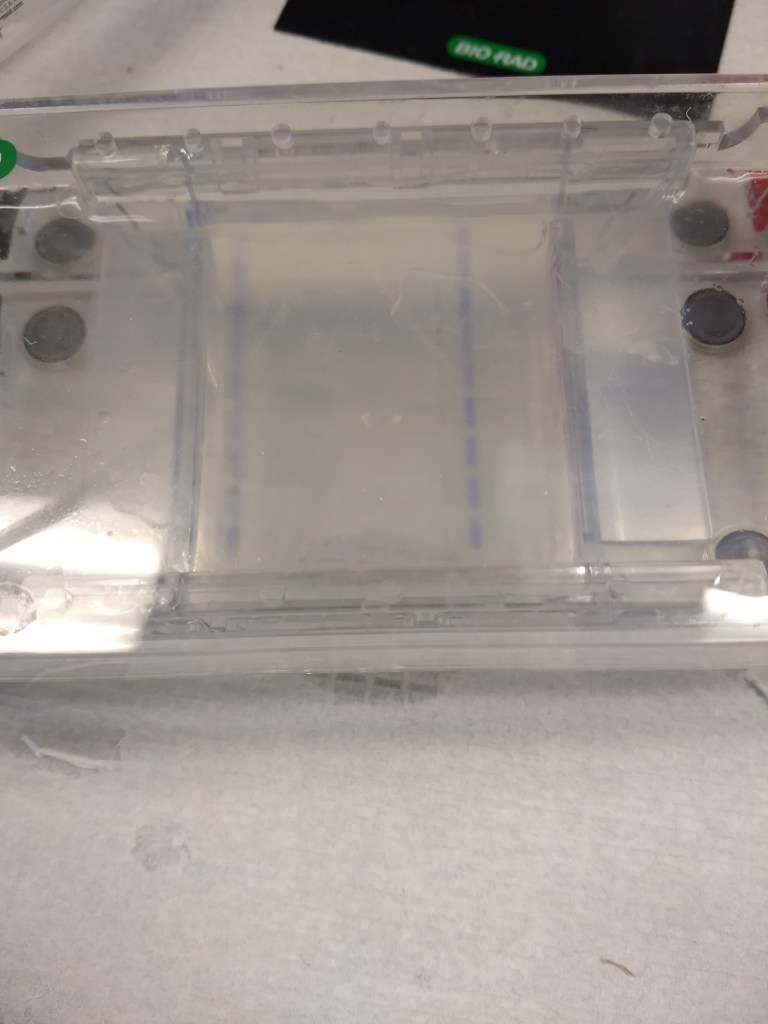
Running gel 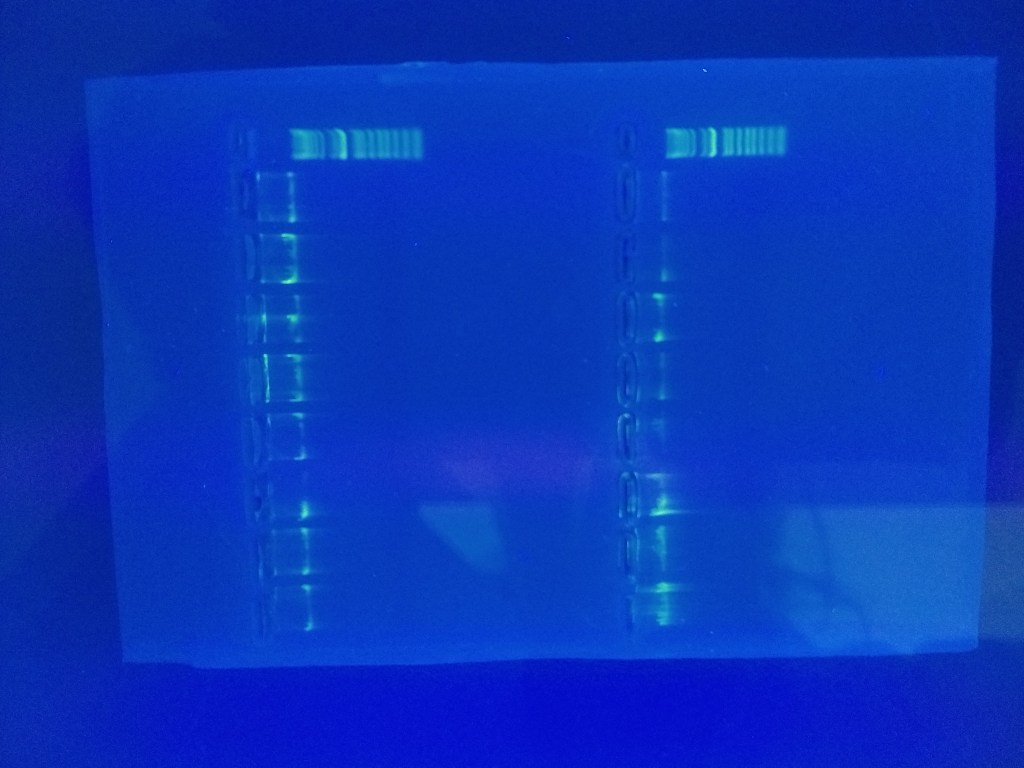
Resulting gel under UV light (16 samples and 2 DNA ladders) 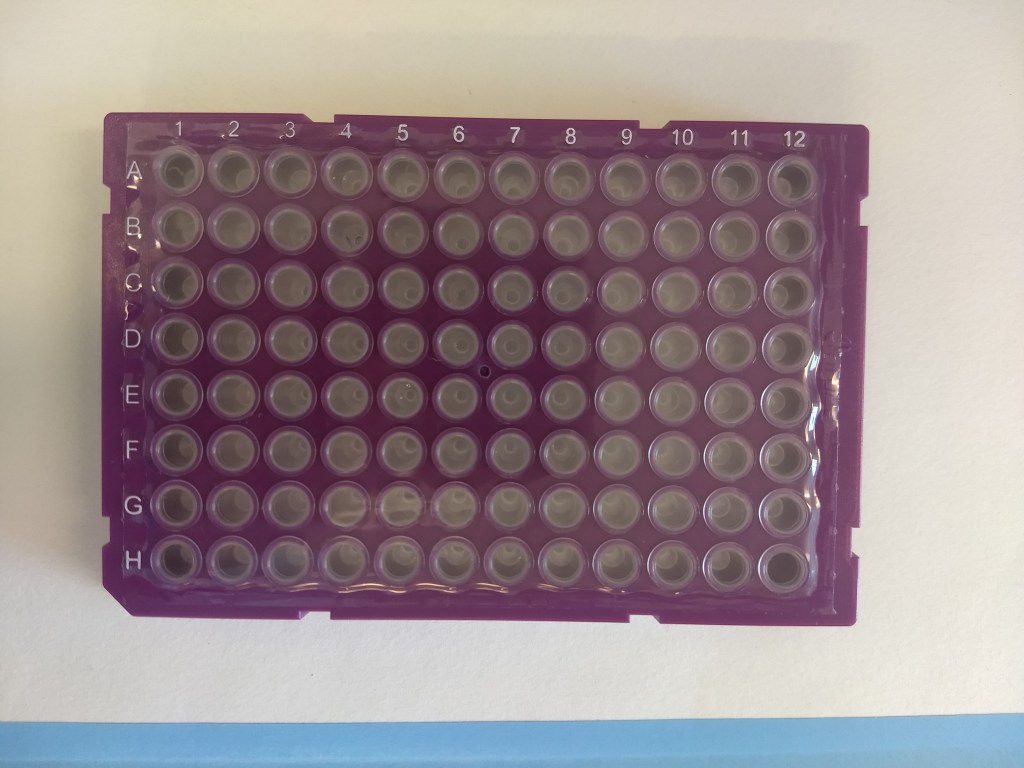
DNA samples in PCR plate, ready to go for sequencing
Preparing for sequencing
After extracting DNA and checking the quality, the samples are just about ready to go. In my study I targeted 96 birds (though I extracted over 200 to get enough successful samples), fitting everything on one PCR plate to ship off to the sequencing facility. Loading this plate was the most stressful part of my MSc, having all my eggs in one basket, diluting samples to the same concentrations, and avoiding contamination. All the liquids (the DNA sample and water) look the same, making it a challenge to load everything without mistakes. Clear notes and labels are extremely important to avoid mixing anything up!
DNA storage
Storing samples properly is crucial for maintaining high quality and future usability. Generally, the freshly extracted DNA can be temporarily stored at regular fridge temperature of ~4°C (up to a couple weeks), then should be kept at -20°C (months), or -80°C for longer-term storage (years). If samples are stored improperly, the DNA can degrade and end up completely unusable. It is also important to minimize the number of freeze-thaw cycles, as this can increase the rate of degradation.
~ ~ ~
It took me about 6 months from start to end for my DNA extractions, pulling my hair out during long disappointing days of troubleshooting, and feeling a huge relief after sealing my final plate of samples. The samples were successfully sequenced this past summer, and now I am using bioinformatic tools to prep and analyze the data!
-Evelien

This reads like a novel, Evelien — clear thinking, good writing. Thank you for sharing this account of the extraction process (ordeal!), all new to me. I look forward to learning of your bioinformatics battles now that you’re all extracted and sequenced. It’s really great that you share this – – thank you.
LikeLike